

3 Easy Beading Projects
for Complete Beginners
Step-by-step illustrated instructions and complete materials lists for your first bracelet, earrings, and necklace — all achievable in an afternoon.
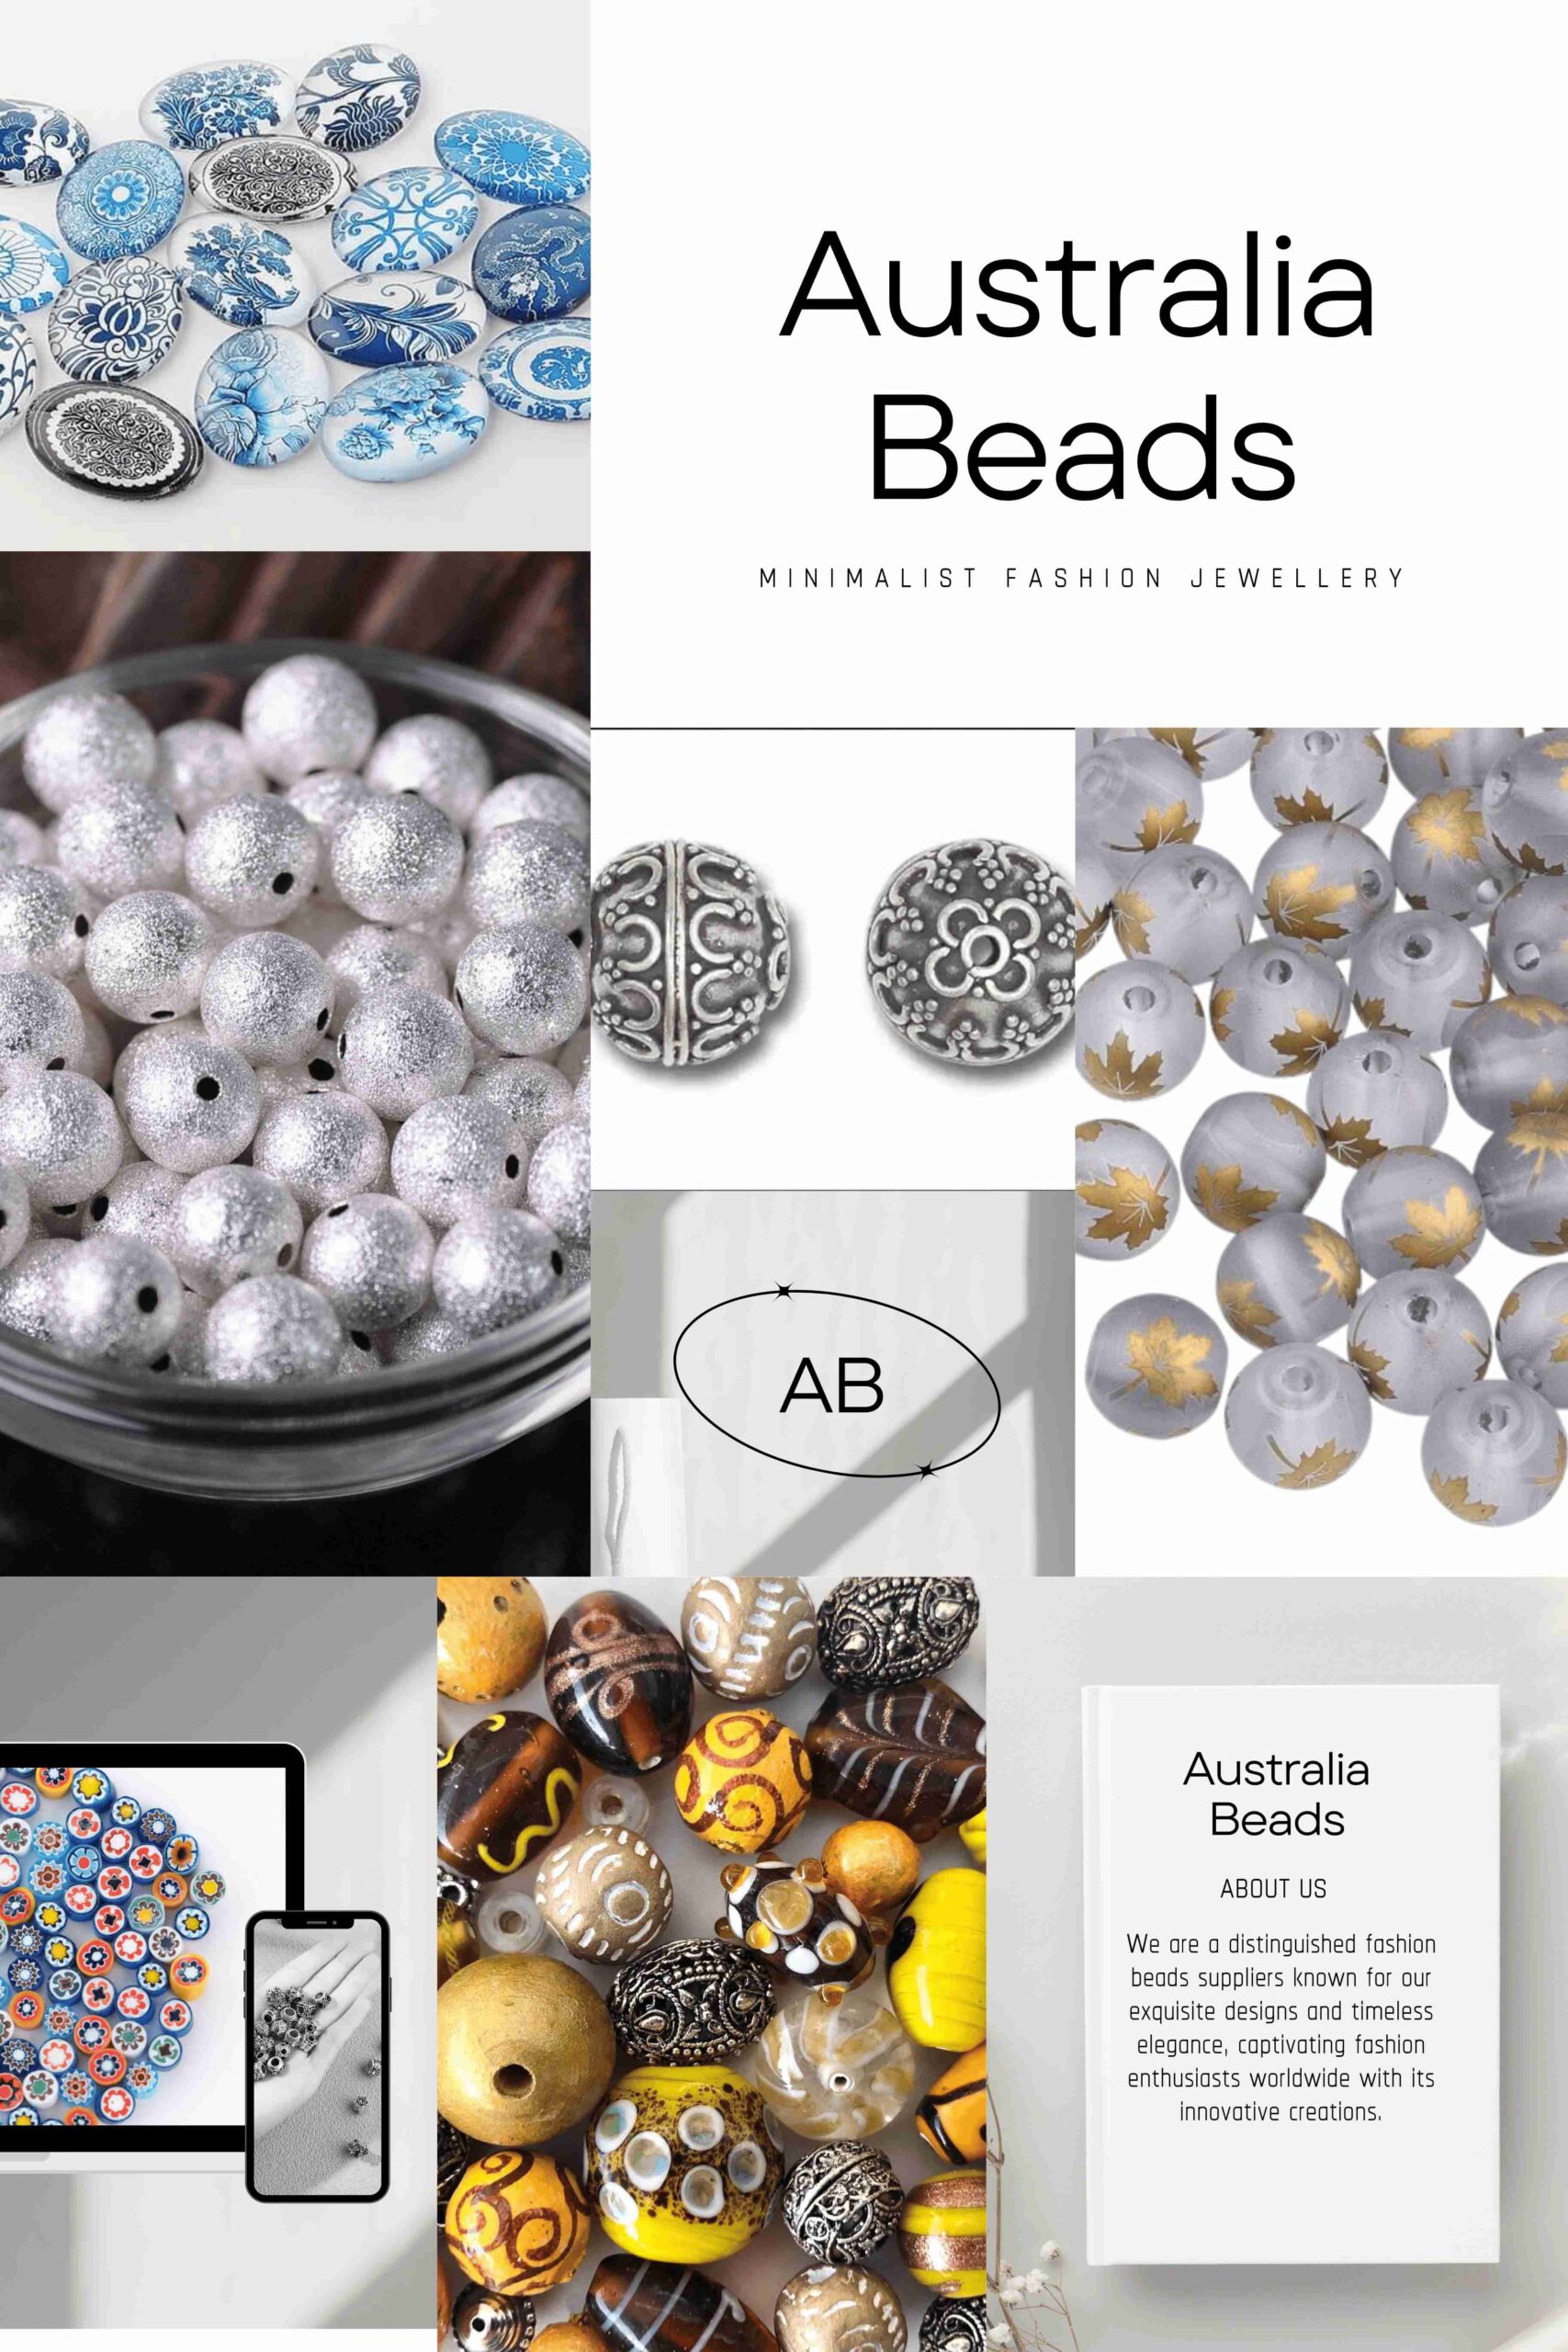
One of Australia's original online bead stores, founded in Melbourne in 1998. Over 25 years supplying jewellery makers — from first-timers to professional designers — with beads imported from more than 15 countries worldwide.
The best way to learn beading is to make something. Not to read more about beading — to actually sit down, thread some beads, and finish a piece you can wear or give away. These three projects are designed for that: achievable in an afternoon, using inexpensive materials, each teaching core techniques you'll use in almost everything you ever make.
Complete all three and you'll have covered elastic stringing, crimping, wire loops, and jump ring technique — the foundation of the vast majority of jewellery projects.
Read each project fully before starting. Gather all materials first — mid-project supply runs are the most common reason beginners abandon their first piece. All products linked in the materials lists are available from Australia Beads.
The Elastic Stretch Bracelet
|
⏱
Time
15 minutes
|
🛠
Tools
None needed
|
💰
Cost
~$8–15 AUD
|
⭐
Level
Complete Beginner
|
This is the project we recommend every beginner start with. No tools, no clasps, no crimping — just beads and elastic. You'll finish it in 15 minutes, it will fit perfectly, and you'll understand the fundamental rhythm of beading.
Materials List
| Item | Specification | Qty | Shop |
|---|---|---|---|
| Glass round beads | 8mm, your choice of colour | ~23 beads | Shop → |
| Elastic cord | 1mm thickness, clear or white | ~30cm | Shop → |
| Jewellery glue | G-S Hypo Cement or similar | 1 tube | Shop → |
| Bead mat | Velvet or foam, any size | 1 | Shop → |
Add a few 4mm metal spacer beads between every 3rd glass bead — it makes your first bracelet look deliberately designed rather than beginner-made.
Step-by-Step Instructions
|
1
📏
|
Measure
Measure your wrist
Wrap a strip of paper around your wrist where you'd wear a bracelet. Add 1cm for comfort. Most adult wrists are 16–18cm. Cut your elastic to this length plus 10cm extra for knotting (typically 27–29cm total). |
|
2
🪢
|
Prepare
Tie a stopper knot
Tie a loose overhand knot about 5cm from one end of the elastic — just to stop beads sliding off while you work. Don't cut this end yet. |
|
3
🔵
|
Thread
Thread your beads
Lay your bead mat flat. Thread beads onto the elastic in your chosen pattern. For 8mm beads, you'll need approximately 23 beads for an 18cm bracelet. Hold the strand against your wrist to check length before finishing. |
Make 2–3 bracelets in different colours and stack them together. Once you've made 5 bracelets and the process is automatic, you're ready for Project 2.
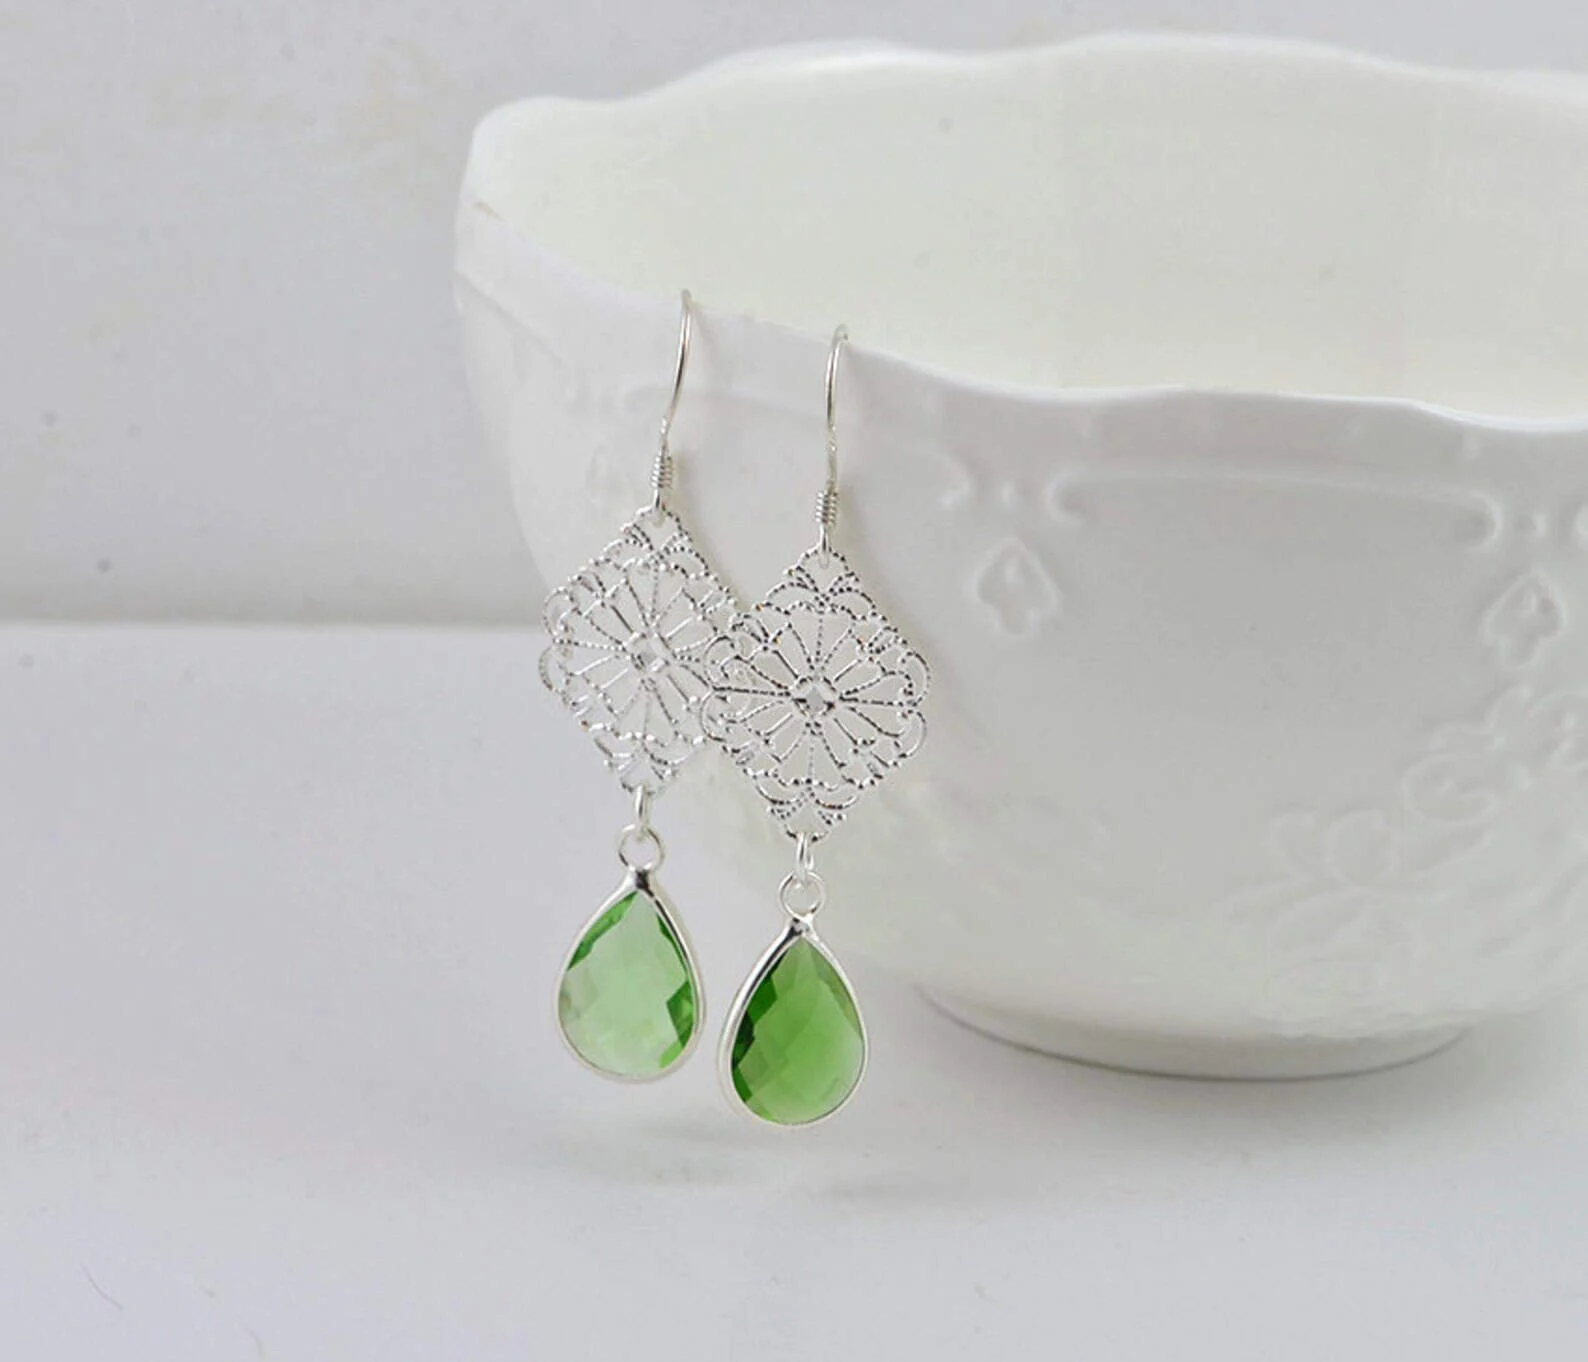
Simple Bead Drop Earrings
⏱ Time 20 minutes |
🛠 Tools 2 pairs pliers |
💰 Cost ~$10–18 AUD |
⭐ Level Early Beginner |
Drop earrings teach you wire looping — the single most useful technique in jewellery making. Once you can do it consistently, you can make hundreds of different earring styles and connectors for necklaces.
Materials List
| Item | Specification | Qty | Shop |
|---|---|---|---|
| Feature beads | 8–12mm, glass, crystal, or gemstone | 2 matched | Shop → |
| Accent bead | 4mm, as top cap (optional) | 2 | Shop → |
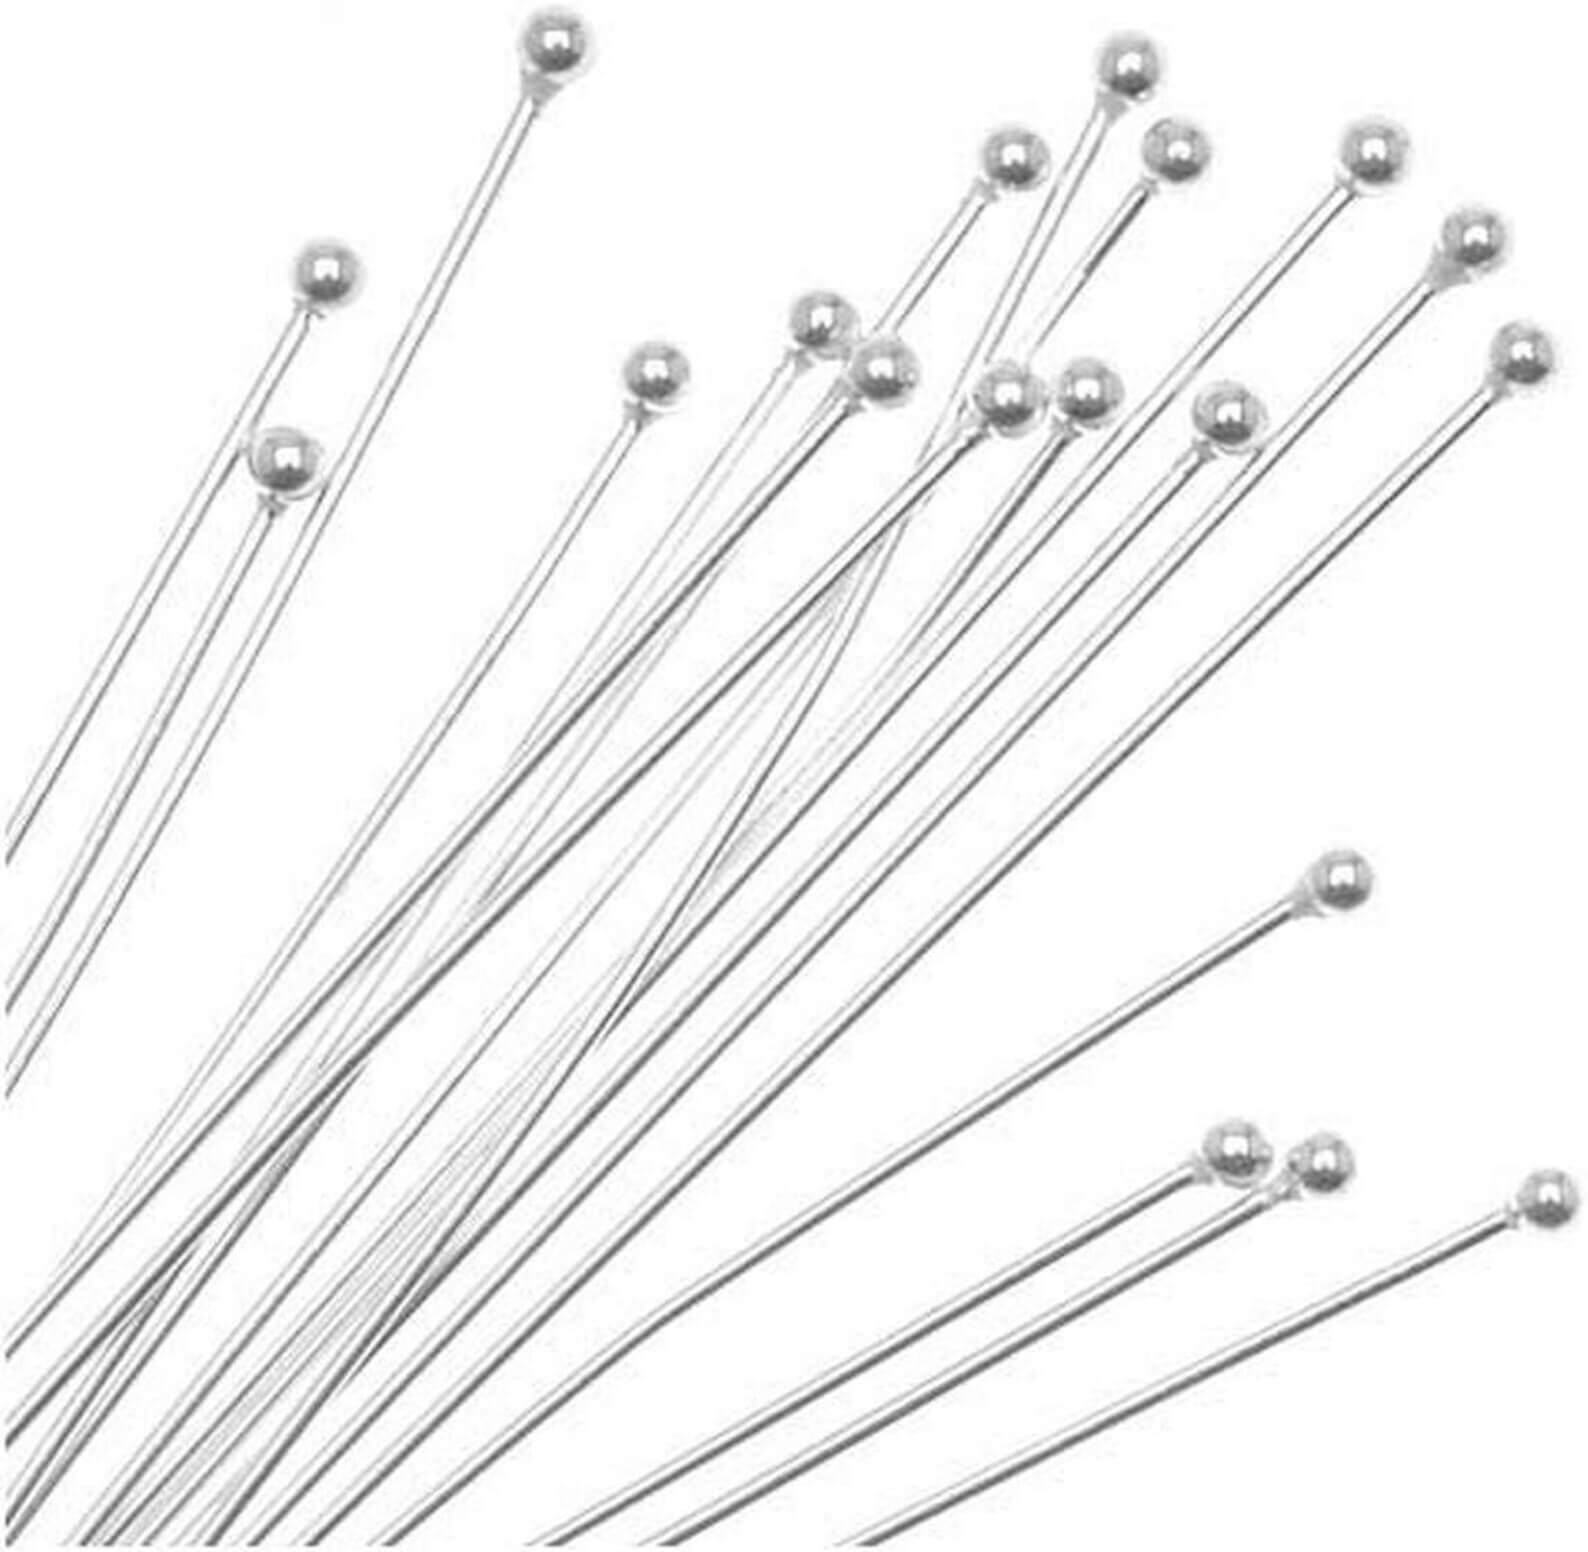
| Head pins | 50mm, silver or gold tone | 2 | Shop → |
| Earring hooks | Shepherd hooks, silver or gold | 1 pair | Shop → |
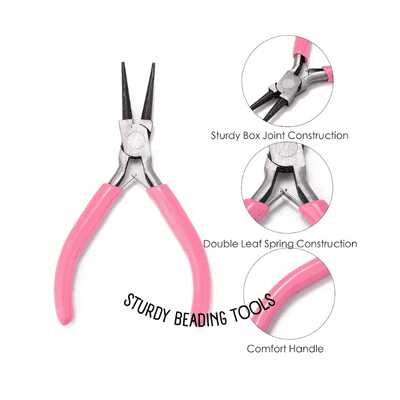
| Chain nose pliers | Smooth jaws, not serrated | 1 pair | Shop → |
| Round nose pliers | Standard size | 1 pair | Shop → |
| Flush wire cutters | Jewellery grade | 1 pair | Shop → |
Step-by-Step Instructions
You're making a circular bend in the wire above the bead that connects to your earring hook. It takes a few goes to get neat. Do a practice run on scrap wire if you have it.
1 🧵 |
Thread
Thread the head pin
Slide your small accent bead onto the head pin first (this acts as a cap against the flat end), then thread your feature bead. Both beads should sit snug against the head pin's flat base. |
2 ↩️ |
Bend
Bend the wire to 90°
Using your chain nose pliers, grip the wire 7–8mm above the bead. Bend the wire to a 90° angle toward you. You should have a clean right angle at the bend point. |
5 ✂️ |
Finish
Trim and make the second earring
Trim any wire tail flush. Make the second earring using exactly the same steps. Lay both flat on your bead mat to compare length before wearing — they should match perfectly. |
Once you can make a simple loop consistently, try a wrapped loop — the wire wraps around the neck of the loop 2–3 times before cutting. It's stronger and looks more professional.
The Classic Beaded Necklace
⏱ Time 30–45 min |
🛠 Tools Crimping pliers |
💰 Cost ~$18–35 AUD |
⭐⭐ Level Confident Beginner |
This project teaches crimping — the professional method for securing beading wire to a clasp. It's exactly how jewellery in shops is made. Once you've done this once and it holds together, you can make any strung piece with confidence.

Materials List
| Item | Specification | Qty | Shop |
|---|---|---|---|
| Large feature beads | 10–12mm, glass or gemstone | 7–9 beads | Shop → |
| Medium beads | 8mm, complementary colour | 10–14 beads | Shop → |
| Metal spacer beads | 4mm rounds, gold or silver | 20–30 beads | Shop → |
| Beading wire | 0.45mm tigertail, 19-strand | ~60cm | Shop → |
| Crimp tubes | 2mm × 2mm, silver or gold | 4 total | Shop → |
| Lobster clasp | 14mm, matching metal tone | 1 | Shop → |
| Jump ring + pliers set | 6mm ring + crimping + chain nose | 1 set | Shop → |
Step-by-Step Instructions
1 🎨 |
Design
Plan your design on the bead mat
Lay your beads out in order: spacer — small — spacer — medium — spacer — large (repeat at centre) — spacer — medium — spacer — small — spacer. Step back and look. Adjust until you're happy before threading a single bead. |
3 🔵 |
Thread
Thread your beads
Thread beads in the order you planned, passing the wire through the first few beads twice to cover the tail from the crimp. Check length against your neck or a ruler — standard length is 45cm. Add or remove beads to reach your target. |
4 🔗 |
Close
Crimp the other end to the jump ring
Thread a crimp tube then your jump ring onto the wire. Pass the wire back through the crimp and the last 3–4 beads. Pull everything snug — no slack, no stretch. Crimp as before. Trim the wire tail flush. |
5 💎 |
Done
Test, inspect and wear
Tug clasp and jump ring firmly in opposite directions — if both crimps hold, you're done. Check that no wire is visible between beads. Attach the lobster clasp to the jump ring and put it on. You've just made professional strung jewellery. |
Try a multi-strand necklace using 3 parallel strands of beading wire, each ending on a 3-to-1 connector finding. Or try mixing bead types — one strand glass, one gemstone, one seed bead — for beautiful texture.
Common Questions
The elastic stretch bracelet (Project 1) — no tools, no clasps, no crimping. Thread, knot, glue, done. It can be finished in 15 minutes and teaches the fundamental rhythm of working with beads before you need any technique.
Your first stretch bracelet will take 15–20 minutes. By the third or fourth you'll be done in under 10 minutes. The necklace (Project 3) takes 30–45 minutes for a first attempt.
8mm glass round beads are ideal. Large enough to thread without a needle, affordable if you make mistakes, available in every colour, and compatible with both elastic and beading wire.
Almost always one of three things: the knot isn't tight enough (use a surgeon's knot, not a simple overhand), no glue was used, or the elastic is too thin (use 1mm, not 0.5mm). Also check that bead holes don't have sharp edges cutting the cord.
Yes — all beads, elastic, beading wire, crimp tubes, clasps, jump rings, head pins, earring hooks, and tools for all three projects are available at australiabeads.com.au, shipped Australia-wide via Australia Post.
More guides for jewellery makers
| Getting Started The Complete Beginner's Guide to Buying Beads in Australia | Bead Types Glass Beads: Czech, Fire-Polished, Lampwork & More | Tools Jewellery Making Tools: What to Buy & What to Skip |


