The Craft Atelier
Jewellery · Making · Living
Jewellery Making Fundamentals
How to Use Eye Pins in Jewellery Making
The humble eye pin is one of the most versatile findings in a jeweller's kit. Learn to work with them confidently — and your beaded designs will reach a whole new level of polish.

Eye pins form the backbone of linked and beaded jewellery designs. Photography: Unsplash
Walk into any well-stocked craft shop and you will find them nestled beside their close cousins — head pins and jump rings — in small transparent packets: the eye pin. Straightforward in appearance, yet extraordinary in function, eye pins are the workhorses of beaded jewellery. They allow you to thread beads onto a wire shaft, form a loop at the open end, and link that component to virtually anything else in your design. Earrings, necklaces, bracelets, charm chains — if it has individual linked elements, eye pins are almost certainly involved.
Yet for all their apparent simplicity, eye pins trip up beginners in predictable ways. Loops that don't close properly. Wire that kinks before you've finished the curve. Beads that rattle because the gauge was wrong. This guide covers everything you need to know — from selecting the right pin for your project to finishing a perfectly formed, professional-quality loop — so you can build jewellery that looks as good as it feels.
What Is an Eye Pin?
An eye pin is a short length of metal wire with a small pre-formed loop — the "eye" — at one end and a straight, open shaft at the other. The loop allows you to connect the finished component to other findings, chains, or links, while the shaft passes through your bead or beads. Once your bead is on, you create a matching loop at the open end, effectively encasing the bead between two loops.
They are sold in a range of metals — sterling silver, gold-filled, copper, brass, and base metal alloys — and in several gauges (wire thicknesses) and lengths. Choosing the right combination of metal, gauge, and length for your project is the first real decision a jeweller must make.
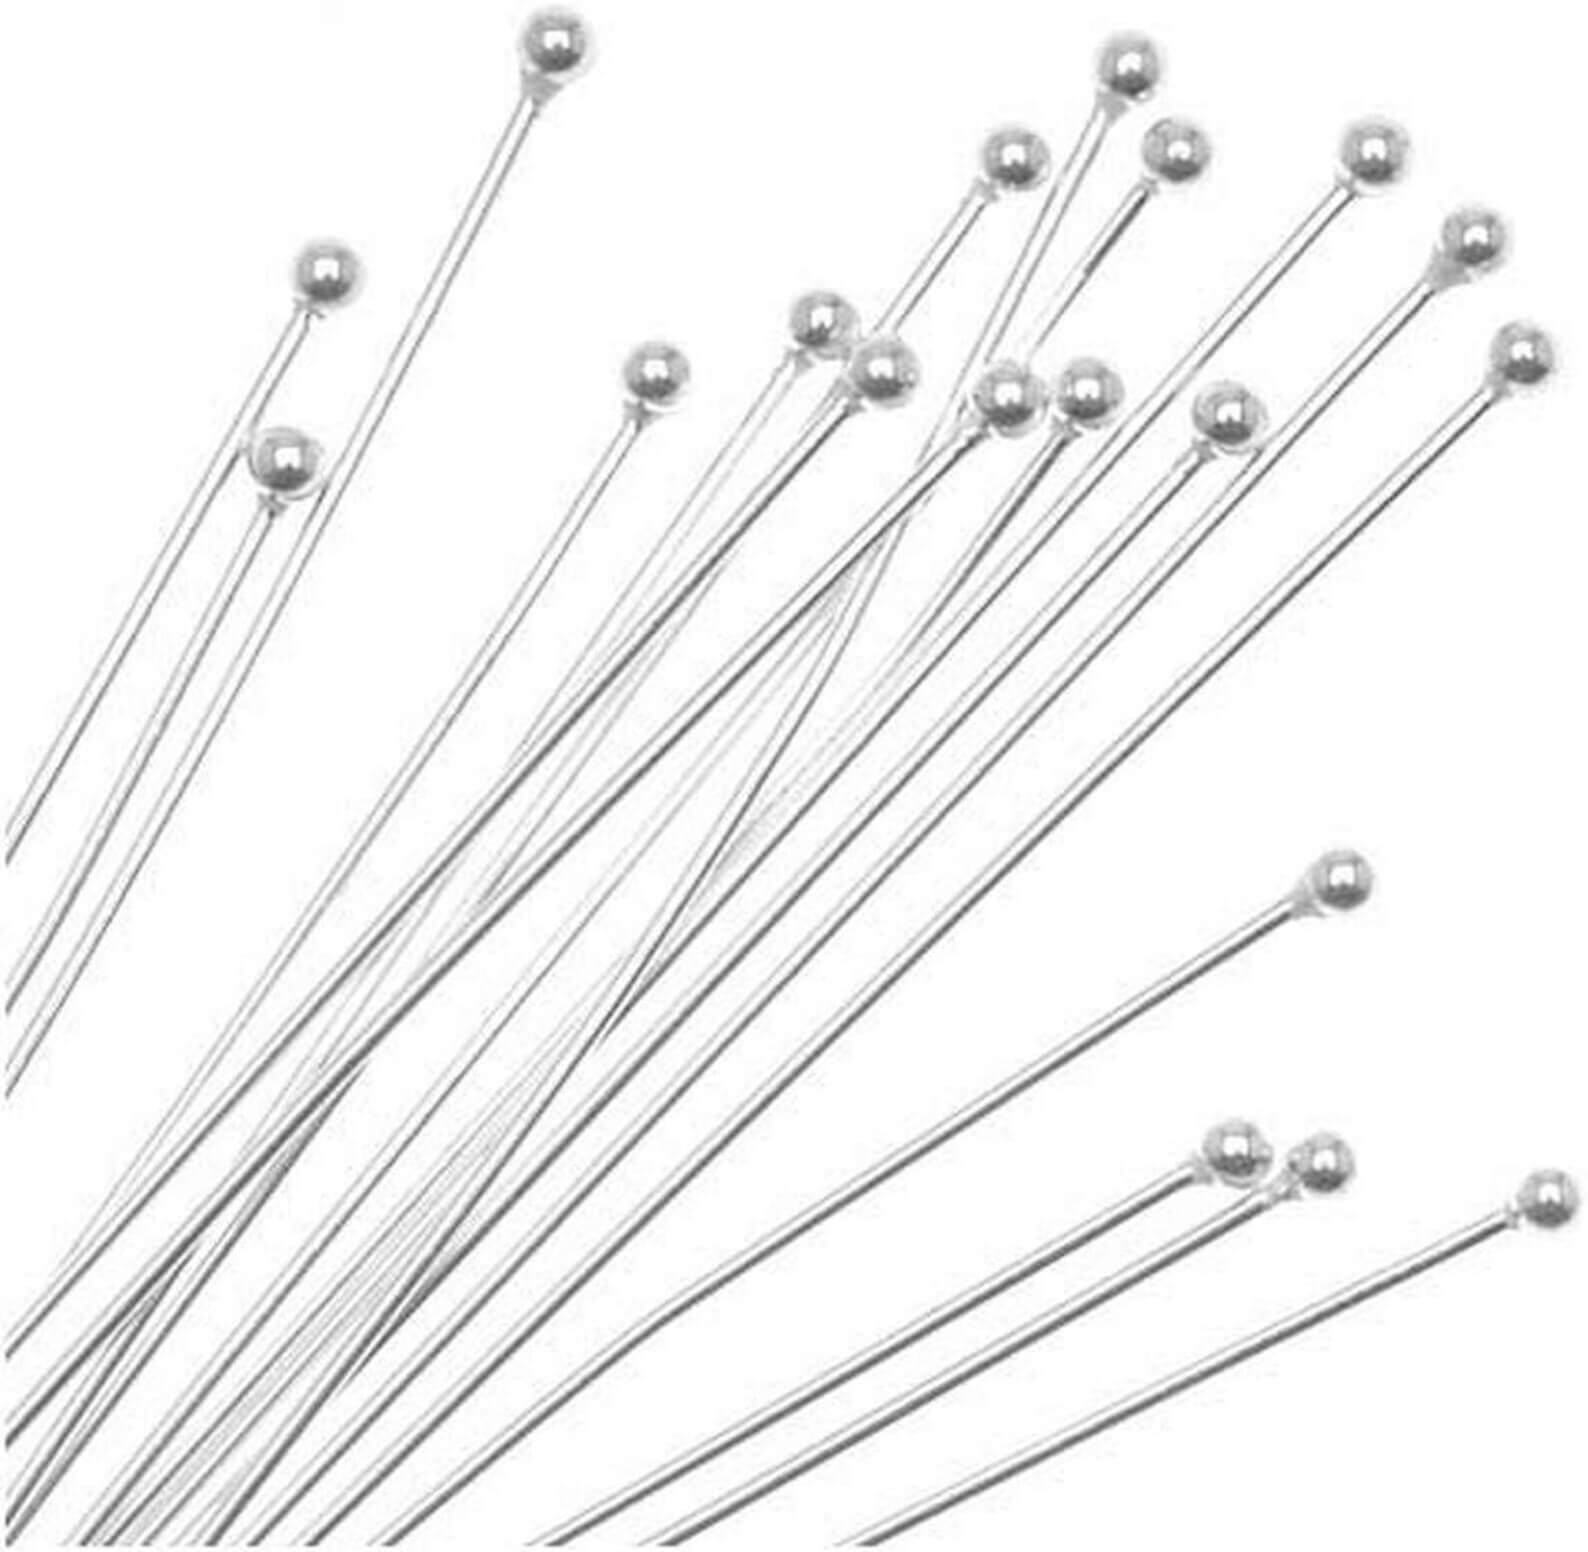
An eye pin has a loop at one end, allowing it to connect to other components on both sides. A head pin has a flat pad or ball at one end, used as a stopper so beads don't slide off — ideal for making single-strand earring drops where nothing attaches below the bead. If your design requires linking multiple beaded sections together, you almost always want eye pins.
Choosing the Right Eye Pin

Silver and gold-toned eye pins in various gauges.
Gauge
Gauge refers to wire thickness. In jewellery making, a higher gauge number means thinner wire — counterintuitive but important. The two most common options are 21 gauge (approximately 0.7 mm) and 24 gauge (approximately 0.5 mm). Use 21 gauge for heavier beads — stone, glass, or ceramic — as it provides the rigidity needed to support the weight without distorting. Use 24 gauge for lighter beads such as seed beads, small freshwater pearls, or lightweight crystal, where a finer loop looks more elegant and proportionate.
Length
Standard eye pins come in lengths of 25 mm, 38 mm, and 50 mm. As a rule of thumb, choose an eye pin that is at least 10 mm longer than the bead or bead stack you plan to thread onto it. That extra length gives you wire to grip and wrap when forming the closing loop. Running short of wire is one of the most common beginner frustrations, and it is entirely avoidable with a little pre-planning.
Metal type
Match your eye pins to the other metals in your design for a cohesive result. Sterling silver eye pins are ideal for fine jewellery and sit beautifully alongside gemstone beads. Gold-filled pins offer the look of gold with more affordability, though they cost more than brass or base metal. For everyday practise or high-volume production, quality copper or brass pins are perfectly serviceable — just be mindful that base metals can tarnish or cause skin reactions in sensitive wearers.
| Metal | Best for | Durability | Price range |
|---|---|---|---|
| Sterling silver | Fine jewellery, gemstones, gifts | Excellent — resists tarnish well | $$–$$$ |
| Gold-filled | Warm-toned designs, semi-fine pieces | Very good — gold layer is substantial | $$$ |
| Copper | Boho, earthy, rustic aesthetics | Good — may patina over time | $ |
| Brass | Practice, volume production | Moderate — can tarnish/discolour | $ |
| Base metal (alloy) | Budget craft projects | Lower — not suitable for sensitive skin | $ |
Tools You'll Need
Working with eye pins requires only a small kit of hand tools, and investing in even moderately good quality versions makes a noticeable difference to the consistency of your loops.
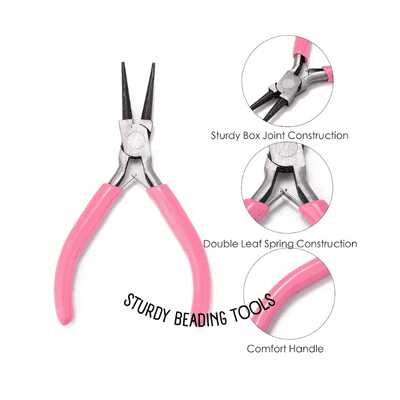
These are your loop-forming tool. The tapered, conical jaws allow you to create circles of varying sizes by adjusting where you grip the wire. Mark a spot near the tip with a permanent marker to ensure consistent loop sizes every time.
Essential for gripping wire, bending it at angles, and — critically — closing loops and opening jump rings. You'll often use two pairs simultaneously when linking components.
A good pair of flush cutters gives you a clean, flat cut rather than a pinched or angled one. Pinched wire ends are harder to tuck in neatly and can snag on skin or fabric.
Useful for checking bead dimensions before selecting pin length, and for maintaining consistency when working in multiples.

A good pair of round-nose pliers is your most essential tool.
How to Use an Eye Pin: Step by Step
The process of using an eye pin follows a simple, repeatable sequence. With practice, you'll be able to complete a single component in under a minute. The key is to develop muscle memory for the loop-forming motion — it becomes second nature surprisingly quickly.
Slide your bead (or bead stack) onto the eye pin, from the straight end down towards the pre-formed loop. The bead should sit snugly against the loop but not so tight that it has no movement. If the bead hole is too large and the bead spins freely on the loop, consider using a smaller-gauge pin or adding a small spacer bead on either side.
Using your flush cutters, trim the wire so that approximately 8–10 mm extends beyond the top of the bead. This is your working length for forming the loop. Too little wire and you'll struggle to close it fully; too much and the loop will be oversized or waste material.
Using chain-nose pliers, grip the wire right at the top of the bead and bend it to a sharp 90-degree angle away from the bead. This bend is your starting point and ensures the loop sits centred above the bead rather than off to one side.
Grip the tip of the bent wire with your round-nose pliers at your marked consistent position. Roll the pliers away from you in a smooth, confident arc, curving the wire around the jaw until you have a complete circular loop. The goal is a round, closed circle with no gap or kink. If you're making a simple loop, stop here and close the circle.
If this eye pin component needs to connect to a chain, clasp, or another link, now is the moment — before fully closing the loop — to slip that finding onto the open loop. Once connected, use your chain-nose pliers to gently press the loop closed, ensuring the cut wire end meets the loop body cleanly with no gap.
Hold the finished component up to the light and check that both loops are round, the same size as each other, and aligned on the same axis (i.e., both loops sit in the same plane so the bead hangs straight). If a loop has a small gap, close it with chain-nose pliers. Slight misalignment can be gently corrected but is easier to avoid with care during forming.
The difference between a beginner and an experienced maker often comes down to just one thing: the confidence to bend wire with a single, decisive motion rather than tentative little adjustments.
Simple vs. Wrapped Loops
Everything described above produces a simple loop — clean, quick, and perfect for lightweight to medium-weight designs. But there is a second technique worth mastering: the wrapped loop.
In a wrapped loop, rather than closing the circle against itself, you coil the remaining wire around the straight section between the bead and the loop — creating an elegant spiral of wire that permanently locks the loop closed. Wrapped loops cannot be opened and reopened, which makes them far more secure. They are the professional choice for any design where beads are heavy, where the piece will receive daily wear, or where you simply want a more polished, artisan look.
The technique requires slightly more wire — leave 15 mm above the bead instead of 10 mm — and the same tools, but the motion is more involved. After bending the wire at 90° and forming the initial loop with round-nose pliers, don't close it yet. Instead, grip the loop with chain-nose pliers in your non-dominant hand, and with your dominant hand use a second pair of chain-nose pliers (or your fingers) to coil the tail wire two or three times tightly around the straight section. Trim the excess wire flush, and press the tail end down with chain-nose pliers to prevent it snagging.
Consistency tip
Mark your round-nose pliers with a permanent marker so every loop forms at exactly the same point on the jaw.
Avoid kinking
Never hold wire in the tips of chain-nose pliers alone — support the full section you're bending to prevent accidental kinks.
Test your beads first
Always check that bead holes fit your eye pin gauge before cutting a quantity of pins. It saves wasted material.
Flush cut direction
Always orient the flat face of your flush cutters toward the wire you want to keep. This ensures a clean, flat end.
Common Mistakes and How to Fix Them
Loops that aren't round. Usually caused by moving the pliers mid-roll, or by using the wrong section of the jaw. Keep your round-nose pliers stationary and let the wire travel around them, not the other way around.
Bead slipping through the eye. If the bead hole is larger than the pre-formed eye at the base of the pin, the bead will slip through. The fix is simple: add a small seed bead at the base of the stack, or use an eye pin with a slightly larger pre-formed loop.
Loops that won't close completely. This happens when the trimmed wire is slightly too short or was cut at an angle. If you have the wire, recut at 90° and retry. If not, use a pair of flat chain-nose pliers to press the wire end flush against the loop body as firmly as possible.
Misaligned loops. If one loop sits at an angle to the other, the bead will twist when worn. Prevention is best: after forming the second loop, hold the component vertically and check alignment before connecting it to anything. Gentle correction with chain-nose pliers can fix mild misalignment.
Jewellery Projects That Use Eye Pins
Once you're comfortable with the basic technique, eye pins open up a surprisingly wide range of designs. A classic beaded chain necklace is an ideal first project — simply link a series of single-bead eye pin components together, varying bead size or colour to create rhythm. Drop earrings using a single beaded eye pin component hung from an ear wire are among the fastest jewellery items you can make, and they look elegant with almost any bead.

Linked eye pin components can be combined to create anything from simple chains to elaborate statement pieces.
More adventurous makers use eye pins as the foundation of wire-wrapped pendant designs, where a central bead is surrounded by additional wire elements. Memory wire bracelets with bead-and-eye-pin segments, charm necklaces using wrapped-loop eye pin charms, and multi-strand lariats are all well within reach once the fundamental loop technique is mastered.
Caring for Your Eye Pin Jewellery
The longevity of any eye pin piece depends largely on the metal used and the security of the loops. Simple loops, while convenient, can gradually open under stress — so if you're giving a piece as a gift or intend to wear it regularly, wrapped loops are strongly recommended. For sterling silver or gold-filled pieces, regular cleaning with a soft polishing cloth will keep the metal bright. Avoid chemical cleaners near porous beads such as turquoise, amber, or pearls. Store finished jewellery in individual pouches or divided boxes to prevent scratching and tangling.
The eye pin is, in many ways, the best introduction to jewellery making there is. The tools are affordable, the material is forgiving, and the results — even from a first attempt — can be genuinely beautiful. Start with a handful of quality eye pins, a small collection of beads you love, and the simple tools described here. Within an afternoon, you'll have components you're proud of and a technique you'll use for years.