The Craft Atelier
Jewellery · Making · Living
Jewellery Making Fundamentals
The Difference Between Eye Pins and Head Pins
They look almost identical at first glance — a short wire, a stopper at one end, an open shaft at the other. But eye pins and head pins serve quite different purposes, and knowing which to reach for will make or break your design.

Eye pins and head pins are among the most-used findings in a jeweller's kit — yet they are frequently confused. Photography: Unsplash
Ask any jewellery maker to name the findings they use most, and eye pins and head pins will almost certainly appear near the top of the list. Small, inexpensive, and deceptively simple, these two types of wire pin are the building blocks of a huge proportion of beaded jewellery — from single earring drops to elaborate linked necklaces. Yet newcomers to the craft consistently mix them up, and even experienced makers sometimes pause before reaching for the packet. The confusion is understandable: both pins are a straight shaft of wire with something at one end. But that "something" is entirely different in form and function, and choosing the wrong one can mean a design that simply doesn't work.
This article sets the record straight. We will look at precisely what each pin is, how it is constructed, what it is designed to do, and — crucially — when to use each one. By the end, the distinction will feel completely intuitive.
At a Glance: The Key Distinction
The most direct way to understand the difference is this: an eye pin has a round loop at one end, and an head pin has a flat pad, ball, or decorative stopper at one end. That loop versus stopper distinction drives everything — how each pin is used, what it connects to, and what finished component it produces.
Eye Pin
Loop at baseThe pre-formed loop at the base of an eye pin is what gives it its name — and its defining characteristic. The loop acts as a connection point, allowing the finished component to link to other elements in your design: a chain, a clasp, another bead link, or a jump ring.
Thread your bead or beads onto the open shaft, trim to length, and form a matching loop at the other end. The result is a bead encased between two loops — a fully connected link in a chain of components.
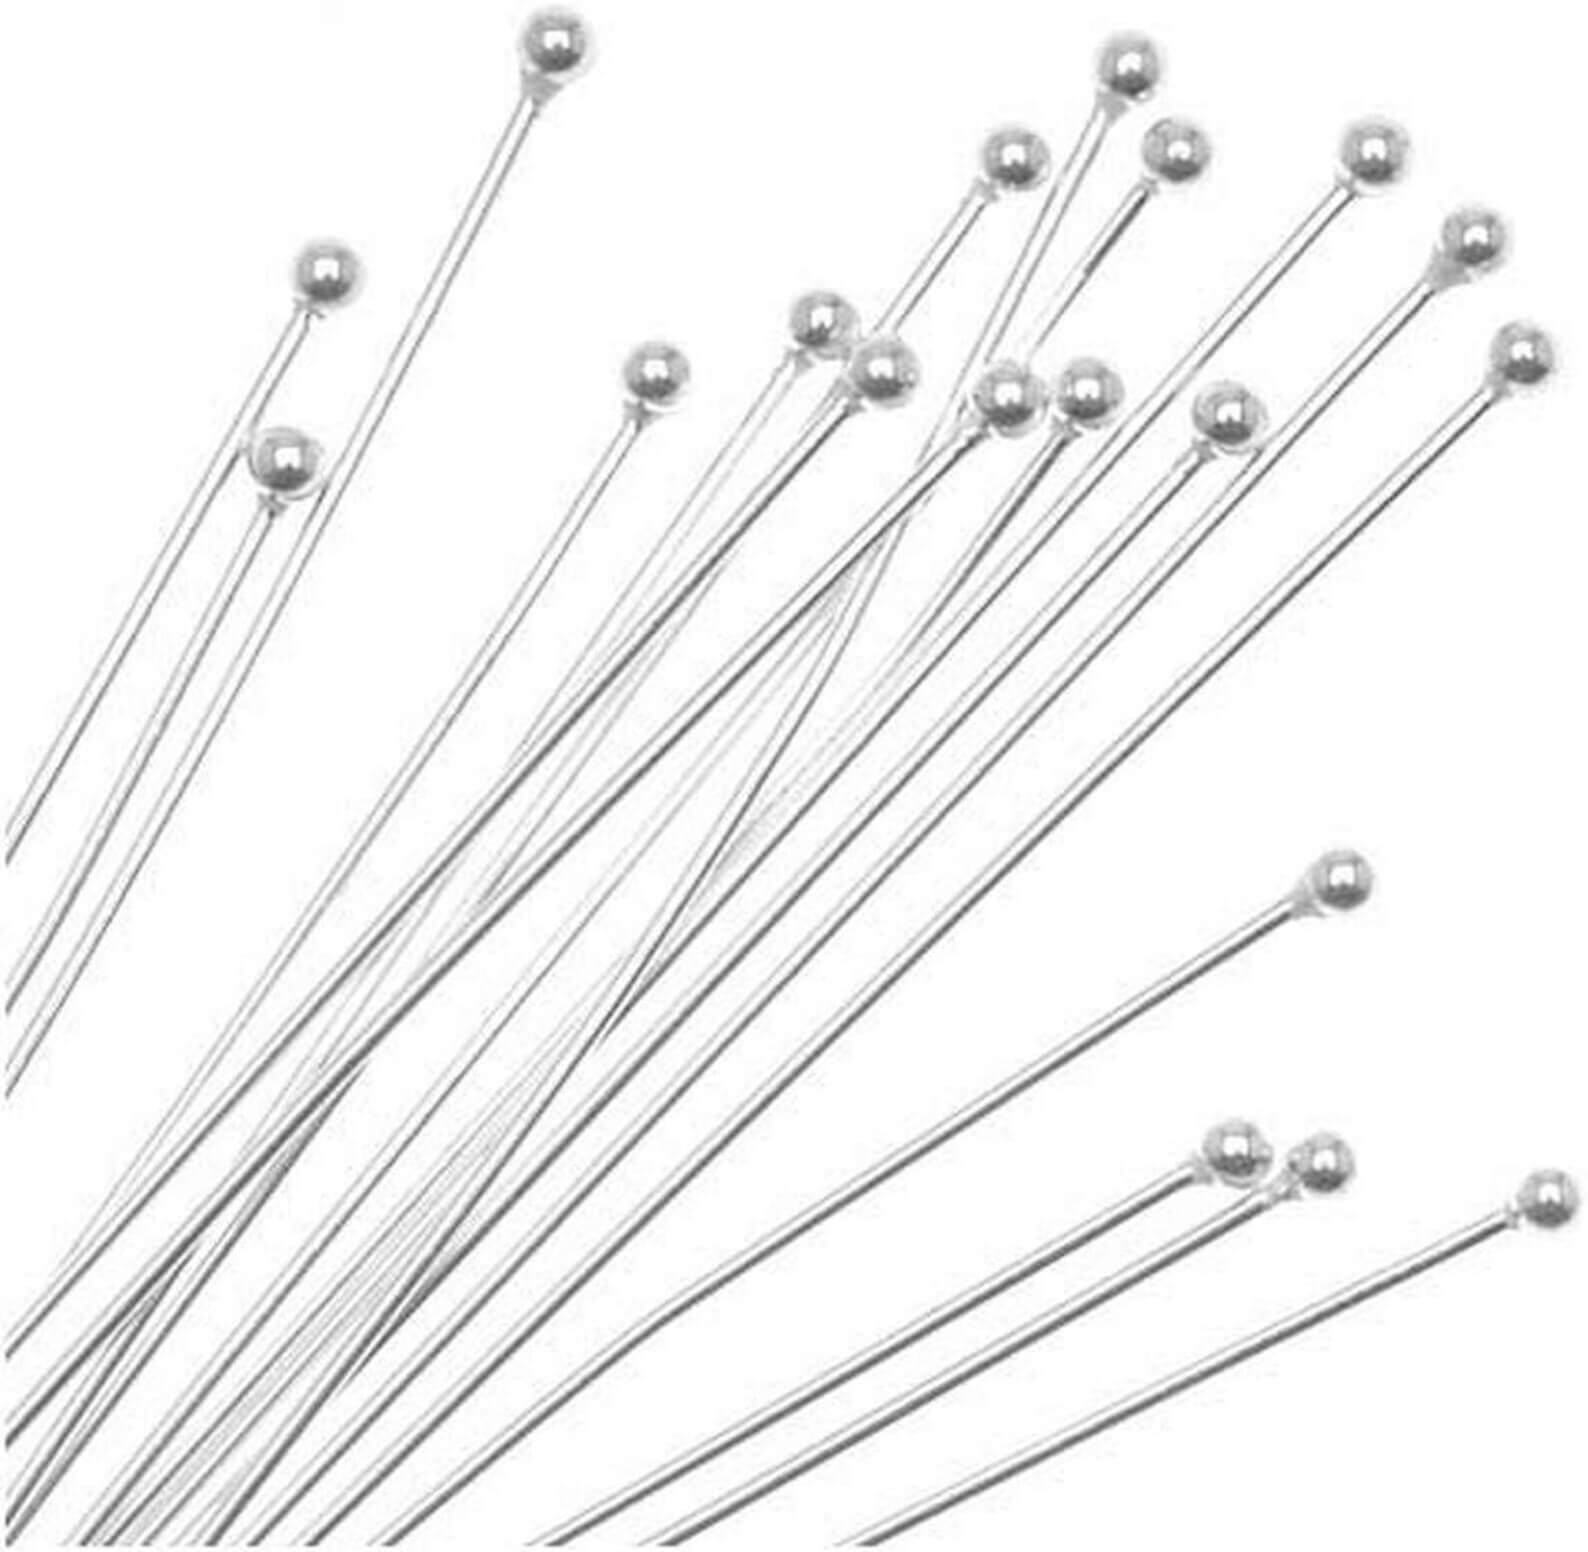
Head Pin
Stopper at baseThe stopper at the base of a head pin — which may be a flat disc, a ball, a flower, or another decorative shape — exists solely to prevent beads from sliding off the wire. There is no loop, no connection point below the bead. It is a dead end by design.
Thread beads onto the shaft, form a loop at the open top, and you have a drop: a decorative dangle that hangs from one point — typically an ear wire, a chain link, or a jump ring — and terminates at the bead.
Think of it this way: a head pin has a head — a solid, closed top, like a nail. A head is a terminus; nothing passes through it. An eye pin has an eye — an open circle, like the eye of a needle or a hook. An eye is meant to connect, to thread something through, to link one thing to another. Once you have that mental image, you will never confuse them again.
Head Pins in Detail

Head pins are the natural choice for single-strand earring drops.
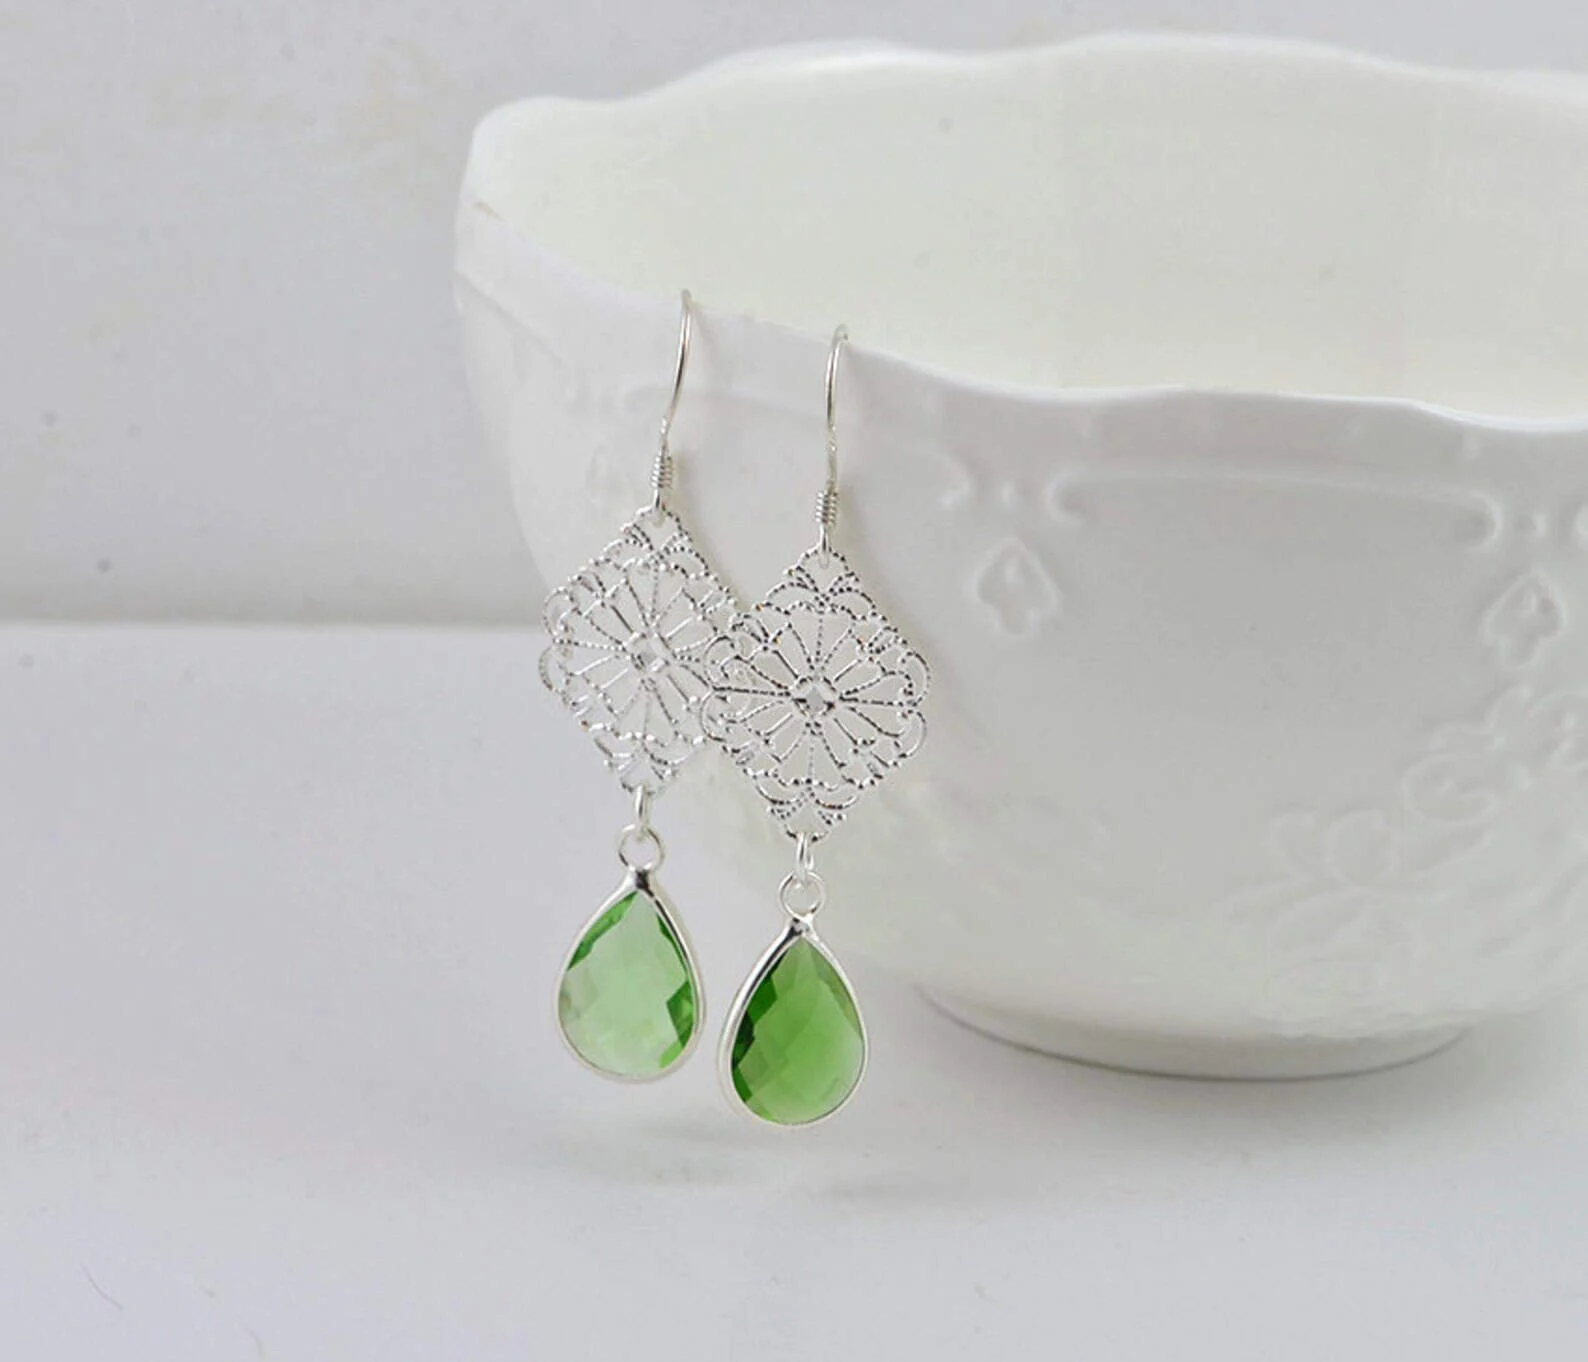
Head pins are the dominant finding in earring making, and for good reason. A single bead threaded onto a head pin, finished with a loop at the top, and hung from an ear wire is one of the fastest and most elegant pieces you can make. The stopper ensures the bead sits right at the bottom of the drop, with no other finding visible beneath it.
The stopper itself comes in several styles, and your choice here is partly functional, partly aesthetic. A flat head pin has the most minimal stopper — a simple disc of pressed metal. It is unobtrusive and works best when the stopper will be hidden inside the bead hole or when the bead sits snugly and the disc is invisible at the base. A ball head pin features a small round ball at the base, which can peek out beneath a bead as a deliberate decorative detail — particularly attractive with transparent or semi-transparent beads. Decorative head pins go further still, offering stamped flowers, stars, hearts, or ornate filigree as stoppers that become part of the design.
Gauge matters just as much with head pins as with eye pins. Use a heavier gauge (21 gauge, around 0.7 mm) for stone or glass beads, and a finer gauge (24 gauge, around 0.5 mm) for delicate freshwater pearls, seed bead stacks, or fine crystal where a thicker wire would look clumsy.
Eye Pins in Detail
Where head pins are about the terminal drop, eye pins are about the link — the component that sits within a chain of elements rather than at the end of one. The pre-formed loop at the base is both its connection point and the feature that distinguishes it most visibly from a head pin.
Working with an eye pin produces a component that is open at both ends: the original loop at the base, and a new loop you form at the top after threading and trimming the bead. Because both ends connect, these components can be linked together in sequence — a property that makes eye pins indispensable for chain-style necklaces, bracelet links, and multi-drop earrings where the drops are themselves connected.
Eye pins also unlock a design move that head pins cannot: the ability to hang a bead component in the middle of a longer piece, connected above and below. A delicate beaded station necklace, for example — where single beads or small clusters appear at intervals along a chain — relies entirely on eye pins to achieve that floating, centred effect.
Head pins end things. Eye pins connect them. Once you understand that single idea, every jewellery design decision that follows becomes considerably clearer.
Side-by-Side Comparison
| Feature | Eye Pin | Head Pin |
|---|---|---|
| Base end | Pre-formed round loop | Flat pad, ball, or decorative stopper |
| Open end | Straight wire — you form a loop | Straight wire — you form a loop |
| Connection points | Two (top and bottom loops) | One (top loop only) |
| Primary use | Linked bead components, stations, chains | Earring drops, single-end dangles, charms |
| Can sit mid-design? | Yes — links above and below | No — terminates below the bead |
| Bead retention | Retained by the base loop | Retained by the stopper |
| Decorative base options | Limited — loop is functional only | Wide range: ball, flower, star, flat, filigree |
| Common gauges | 21 gauge, 24 gauge | 21 gauge, 24 gauge, 26 gauge |
| Common lengths | 25 mm, 38 mm, 50 mm | 25 mm, 38 mm, 50 mm, 75 mm |
When to Use Which: Project-by-Project Guide
The theoretical distinction only goes so far — what matters in practice is knowing, for any given design, which pin to pick up. The guide below covers the most common jewellery project types.
Simple drop earrings
A single bead on a wire hung from an ear wire. The stopper prevents the bead slipping off the bottom. Classic head pin territory.
Beaded chain necklace
Multiple bead components linked in sequence. Every component needs to connect above and below — eye pins throughout.
Multi-drop earrings
If drops hang from a central component, that component needs an eye pin. The individual drops at the bottom use head pins.
Station necklace
Beads appear at intervals along a chain, connected on both sides. Eye pins at every station, linking into the main chain.
Charm bracelet charms
Individual charms hang from a chain via a single connection point — a loop formed on a head pin is the standard construction.
Chandelier earrings
The central linking components are eye pins; the terminal drops are head pins. Both types work in tandem in the same piece.
Beaded bracelet links
Individual bead segments linked together with a clasp at one end. Eye pins create the connected chain of segments.
Cluster earrings
Multiple bead drops all connect upward to a single ring or finding. Each drop is a head pin component — nothing hangs below.
Can You Use Them Interchangeably?
In a word: sometimes. A head pin can stand in for an eye pin if you are willing to add a jump ring at the base — essentially recreating the connection point that the eye pin provides natively. This is a practical workaround when you have run out of eye pins, but it adds an extra finding (and potentially a visible join) to the base of your component. For clean, professional work, use the correct pin for the job.
Going the other direction — using an eye pin where a head pin would be correct — is not really feasible without modification. The pre-formed loop at the base of an eye pin is too large to act as a stopper for most beads; the bead will simply slide over it. You would need to thread a tiny seed bead through the loop first, which is fiddly and rarely worth the effort when head pins are inexpensive and widely available.
Buy both
Stock eye pins and head pins in both 21 and 24 gauge. They are inexpensive and you will use both regularly.
Match your metals
Eye pins and head pins in the same piece should always be the same metal finish — mixing silver and gold findings looks unintentional.
Check your bead holes
The stopper on a head pin must be larger than the bead hole. Test before cutting multiples — especially with irregularly drilled stones.
Plan your design first
Sketch a simple diagram of your piece before buying findings. Every bead that needs to connect on both sides gets an eye pin; every terminal bead gets a head pin.
A Quick Decision Guide
Gauge, Length, and Metal: The Same Rules Apply
Once you know which type of pin to use, the decisions around gauge, length, and metal type are identical for both findings. Use heavier gauges (21 gauge) for heavier beads and finer gauges (24 gauge or 26 gauge) for delicate beads. Choose a pin at least 10 mm longer than your bead stack to give yourself enough wire to form a clean loop at the top. Match the metal finish to the rest of your design.
One nuance worth noting: head pins are sometimes available in longer lengths — up to 75 mm — than eye pins, because drops sometimes feature long stacks of small beads. Eye pins rarely need to exceed 50 mm, as a component linking within a chain is typically a single bead or a short stack.

Both types of pin are essential to a well-stocked jewellery kit — and many pieces use both in the same design.
Working Confidently With Both
The physical technique for finishing both eye pins and head pins is identical: after threading your bead, trim the wire to leave 8–10 mm above the bead, bend at 90 degrees with chain-nose pliers, and form a round loop with round-nose pliers. The only difference is what already exists at the other end of the wire. For a detailed walkthrough of the loop-forming process itself, see our companion guide on using eye pins in jewellery making.
The more you work with both types of finding, the more naturally you will distinguish between them — not by checking the packet, but by knowing instinctively what your design requires. A beaded necklace requiring linked segments? You are reaching for eye pins before you have even finished the thought. A pair of simple drop earrings for a gift? Head pins, almost certainly. That ease of decision-making is the hallmark of a maker who has moved past the basics and into the real pleasure of the craft.


