
Best Pins for Earrings and Bead Links
With dozens of eye pins and head pins on the market, knowing which ones to actually buy — and for which job — will save you time, money, and a lot of frustration at the workbench.

Choosing the right pin from the outset makes the difference between a professional result and a frustrating one. Photography: Unsplash
Every jewellery maker reaches a point where the packet of pins in front of them stops looking like a generic "pin" and starts looking like a specific tool for a specific job. That shift — from vague to precise — is one of the more satisfying moments in learning the craft. This guide is designed to get you there faster, by walking through the best pins for the two most common tasks: making earrings and constructing bead links for necklaces and bracelets.
We will cover both eye pins and head pins, the gauge and length choices that matter most for each application, and what to look for when buying. By the end, your next trip to the findings aisle — or your next order from Australia Beads — will be considerably more purposeful.
A pre-formed loop at the base, an open shaft at the top. Thread a bead, form a second loop, and you have a component that connects to other components on both ends — the building block of linked chains, station necklaces, and multi-segment bracelets.
A flat pad, ball, or decorative stopper at the base prevents beads from sliding off. Thread a bead, form a loop at the top, and you have a drop — a component that hangs from one point only, perfect for earrings, charms, and pendant details.
Best Pins for Earrings
Earring making is where most jewellers first encounter head pins, and for good reason. The classic drop earring — a bead hanging from an ear wire — is one of the simplest and most rewarding pieces to make, and head pins are precisely designed for it. But not all head pins are equal, and the wrong choice can let down an otherwise beautiful design.

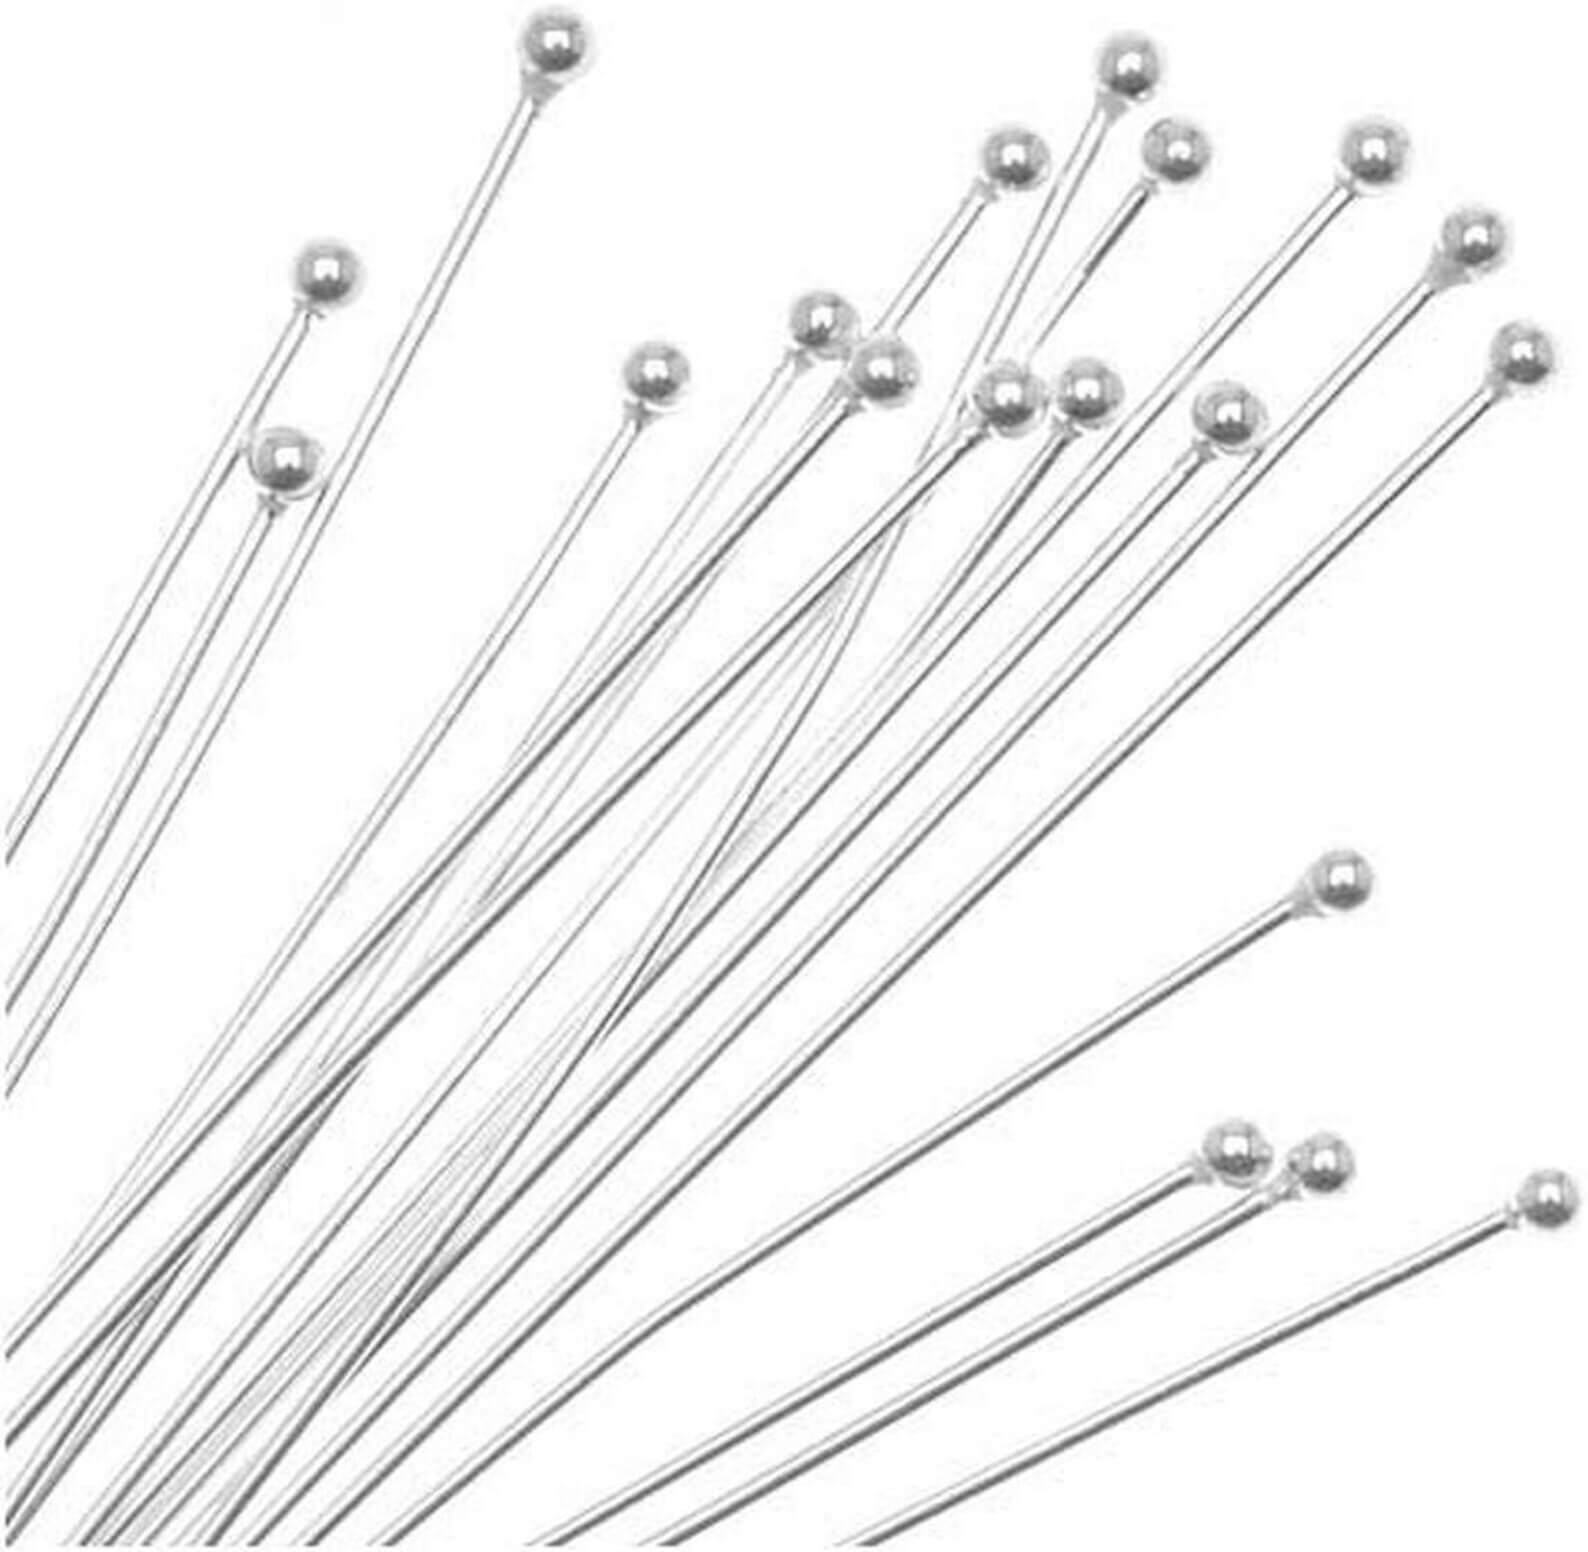
Fine gauge head pins keep earring drops looking delicate and refined.
For lightweight beads — pearls, crystal, seed beads
Fine gauge head pins — 24 gauge (0.5 mm) or even 26 gauge (0.4 mm) — are the best choice for lightweight beads. The thinner wire is proportionate to the bead, and the loop you form at the top will be neat and small, which looks far more professional than a chunky loop on a delicate bead. Sterling silver or gold-filled 24 gauge head pins in a 38 mm length cover the majority of earring-making scenarios.
For heavier beads — stone, glass, ceramic
Move up to 21 gauge (0.7 mm) when your beads have weight. Thinner wire will bend and distort under a heavy stone bead, making the loop sag and eventually fail. A 21 gauge head pin in sterling silver holds its shape cleanly and gives a firmer, more secure loop. For statement earrings with larger stone drops, 50 mm pins give you enough shaft for a bead stack plus a comfortable working length.
Ball head pins vs. flat head pins for earrings
The stopper style matters aesthetically as well as functionally. A flat head pin disappears inside or behind the bead — ideal when you want the bead itself to be the whole story, with no visible metal below it. A ball head pin adds a small spherical detail at the base of the drop, which can be intentionally decorative — especially beautiful with transparent or translucent beads where the silver or gold ball is visible through the bead. For most beginner earring projects, flat head pins are the safer starting point; they are more forgiving and work with almost any bead shape.


Best Pins for Bead Links
Bead links — individual bead components that connect to one another in a chain — are the foundation of linked necklaces, beaded bracelets, and station jewellery. Eye pins are the only sensible choice here. Their pre-formed base loop is what allows each component to connect cleanly to the next, without the need for additional jump rings at the base.
Consistency is everything in linked designs
When you are making a necklace of twenty linked bead components, every loop in the chain needs to be the same size. This means using a consistent length of eye pin — the same pin every time — and forming your loops at the same point on your round-nose pliers. Slight size variation in a single-strand bracelet is barely noticeable, but in a fine beaded chain it reads as sloppiness. Invest in quality eye pins from the same batch, mark your pliers, and work methodically.
For earrings, you want a clean terminal drop. For bead links, you want a connected chain. Those two requirements call for two different pins — and knowing which is which is half the craft.
Eye pin length for bead links
The most common mistake with bead links is choosing an eye pin that is just barely long enough. After threading the bead and trimming, you need 8–10 mm of wire above the bead to form the loop. If your bead is 8 mm long, a 25 mm eye pin leaves only 17 mm — workable, but tight. A 38 mm eye pin leaves 30 mm before trimming, giving you plenty to work with and consistent results. For most standard bead sizes (6–12 mm), 38 mm eye pins are the reliable default.


Gauge Guide: Which Thickness for Which Bead
At a Glance: Choosing Your Pin
| Project / requirement | Best pin type | Gauge | Length | Loop type |
|---|---|---|---|---|
| Simple drop earrings | Head pin | 24g | 38 mm | Simple loop |
| Statement stone drop earrings | Head pin | 21g | 50 mm | Wrapped loop |
| Cluster / chandelier earrings (terminal drops) | Head pin | 24g | 25–38 mm | Simple loop |
| Cluster / chandelier earrings (linking component) | Eye pin | 21g | 38 mm | Wrapped loop |
| Linked bead necklace | Eye pin | 21g | 38 mm | Simple loop |
| Station necklace (bead at intervals) | Eye pin | 21–24g | 38 mm | Wrapped loop |
| Beaded bracelet (linked segments) | Eye pin | 21g | 38 mm | Wrapped loop |
| Pearl bracelet (fine bead links) | Eye pin | 24g | 38 mm | Simple loop |
| Charm bracelet charms | Head pin | 21–24g | 38 mm | Simple loop |
Your Essential Pin Starter Kit
If you are building your findings collection from scratch — or refreshing a depleted kit — the list below covers the vast majority of earring and bead link projects you are likely to encounter. These seven items will serve you well across years of making.
Buy in bulk
Pins are inexpensive in quantity. Buying 100 at a time keeps your bench stocked and ensures consistent batches.
Test before committing
Make a single test component first. Check the loop size, the fit, the weight. Adjust gauge or length before making twenty.
Match your metals
Silver pins with silver ear wires and clasps. Gold pins with gold. Mixing metals within a piece looks unplanned.
Store separately
Keep eye pins and head pins in separate compartments. Reaching into a mixed pile mid-project is a reliable source of mistakes.
The best pins for earrings and bead links are simply the right pins — matched to the weight of your bead, the aesthetic of your design, and the demands of the finished piece. Once you have a well-stocked findings kit and a clear sense of when to reach for each type, the decisions become instinctive. What was once a moment of hesitation at the findings drawer becomes a smooth, automatic part of your making process.


